After

before

Materials:
krylon chrome aluminum spray paint
polyurethane spray paint in semi-gloss
wet/dry sandpaper in 400,600,1000, & 2000
sponges
soapy water
clean cotton rags
rub n' buff in antique gold
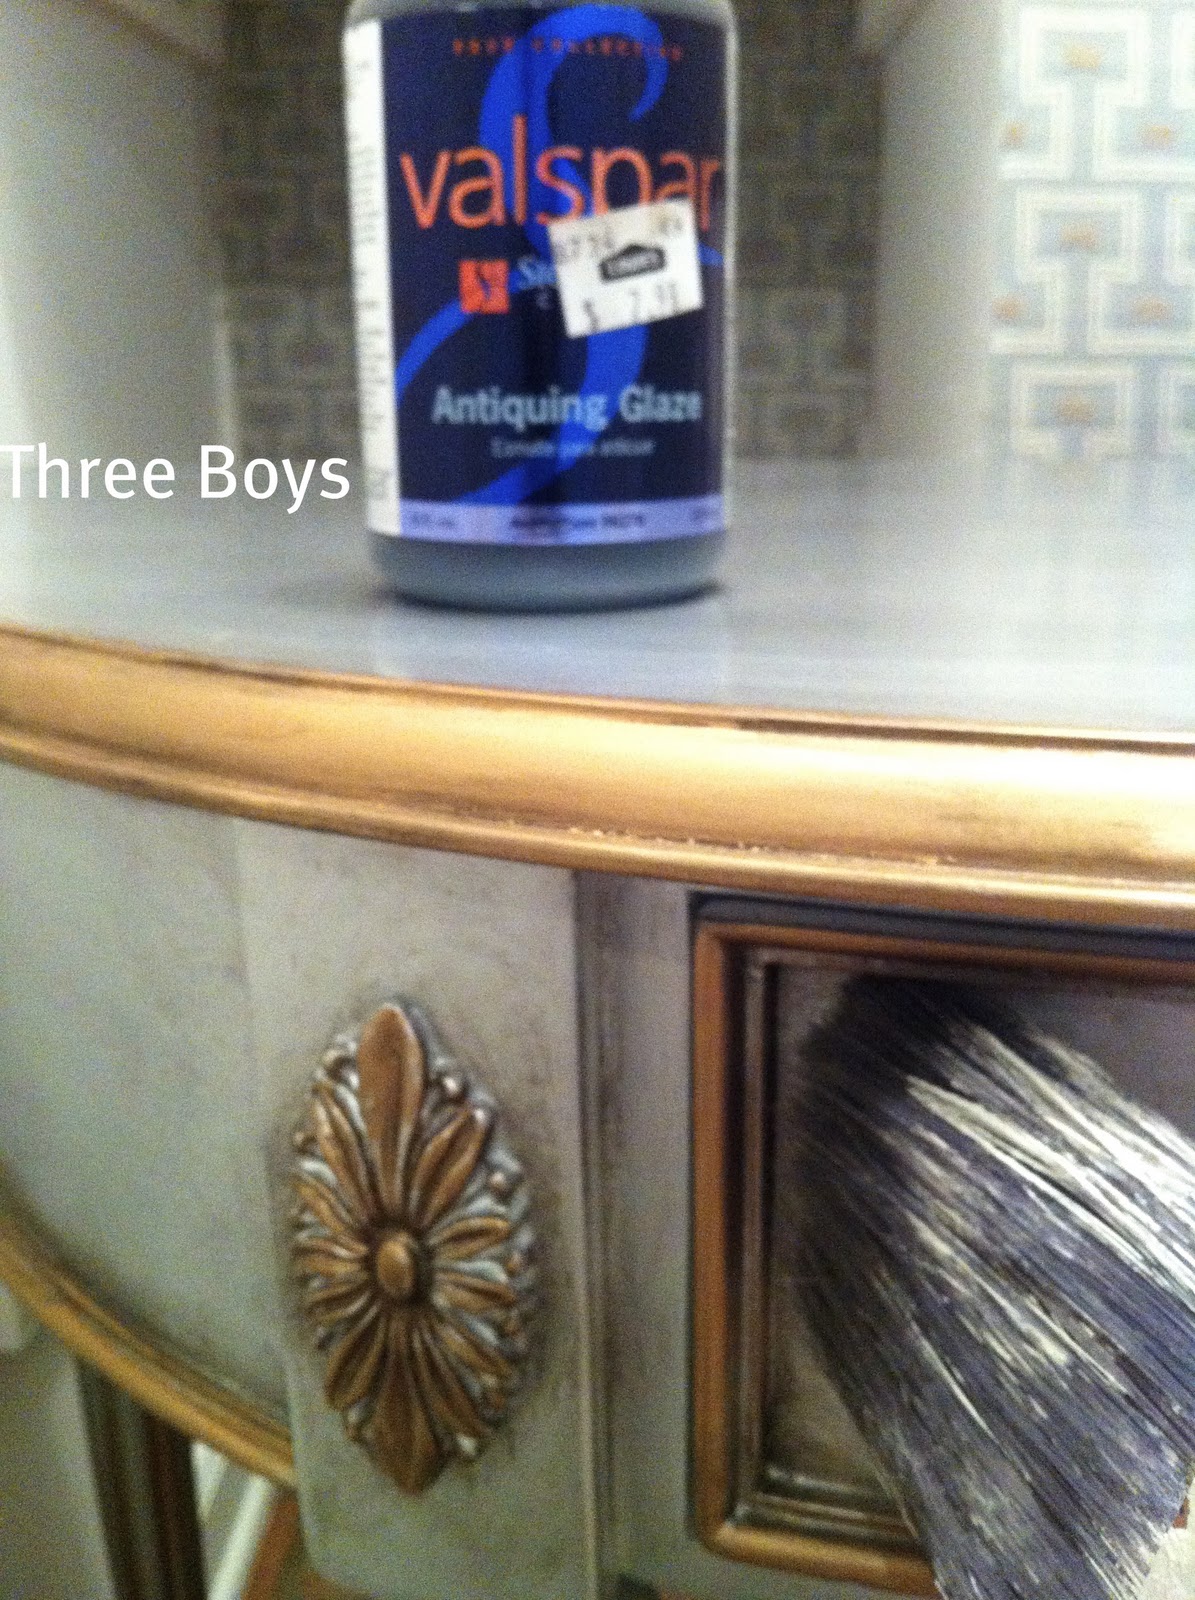
antiquing glaze
rubbing compound
mirror glaze swirl remover
car wax
Instructions
1) Lightly sand your piece just enough for the spray paint to stick.
2) Paint with the chrome spray paint. I used about 4 very light coats allowing it to dry completely between coats.

2) Spray with at-least 3 coats of poly and let dry completely. I let mine dry for about 2 days before moving on to the sanding.
3) Grab your bowl of soapy water, sponges, sand paper, and rags.

4. Starting with the lowest number sand paper, wrap a small piece around the sponge and get it wet.

5. Very lightly sand on a very wet surface just until you stop feeling the drag as you go back and forth. This should not take a lot of time. I think a minute is plenty depending on the size of your piece. Be careful you can easily sand through your finish. Remember GENTLY, and watch the edges!

6. Repeat step 5 with each higher grade of sandpaper. wiping down in-between with a dry rag just to see how you are doing. With each step it will get smoother and smoother, don't freak out if it has a slightly "dusty appearance." Just be careful not to sand to hard.
7. After you have finished sanding wipe down the entire piece with soapy water and dry completely with a towel.
8. Apply an ample amount of rubbing compound and rub gently until it has all been rubbed in (follow the directions on the bottle.) This is where you really start to see it shine.

9. Follow with the swirl remover and follow the directions on the bottle. Don't panic if you see some imperfections in the paint, little scratches etc... its ok, we are going for the antique look. Just work on the shine.

 |
| Top after rubbing |

10. Go over all of the edges and detail with the rub 'n buff.

11. Add you antiquing glaze to the edges and trim. I used a dry brush technique using my Purdy brush which worked really well.
12. Finally grab your turtle wax and give it that final seal and shine! Just follow the instructions on the jar, go gently.
That is it, I would say that after the paint and poly had dried the whole thing took about 3 hours. I focused the sanding on the flat surfaces and hit the legs and detail very lightly if at all with the sand paper.
The sand paper, rubbing compound, swirl remover, and wax I found at an automotive store. Lowe's in our area did not carry it. The rub 'n buff I ordered from Amazon and the paint is from Lowe's.
Other Posts To Check Out!
So creative. I admire the piece.
ReplyDeleteWow Sarah, it really is impressive. How did you come up with this process? As always, can't wait to see what you come up with next! liz
ReplyDeletethis is seriously gorgeous!!
ReplyDeleteAwesome Sarah! What a great job. Thanks for the tutorial...you ROCK!
ReplyDeleteSusan : )
I love you! Does the base have to be white though? I was just wondering because I have a black side table that I would love to do this to!
ReplyDeleteHave a great one! x http://xnta.blogspot.com/
Thanks for putting up the tutorial! As soon as I get a chance, (really, as soon as Sexy Nerd has a chance and I can convince him to do this) I'm going to try this out. I'll email you the results :)
ReplyDeleteGreat tutorial! Thanks for the list too...makes it easier when we shop for all the supplies! Thanks for sharing!
ReplyDeleteThis was fantastic. You truly are talented. Thank you for sharing with us. Hopefully I can try something like that too =)
ReplyDeleteI'm now a follower.
http://cammiew4.blogspot.com/
wow! that is just stunning. i've been wanting to do SOMETHING in my home in that mirrored finish...
ReplyDeleteyour desk may have given me just the push i need!
Amazing! You did a beautiful job!!
ReplyDelete~Kim
good gracious girl, you did a number on that piece (in SUCH a good way!). I don't think I ever commented on your last post, but I still love it in the closet with the shelving...even though it is kinda sat it is in the closet because it is so beautiful.... :)
ReplyDeleteOh my goodness what a wonderful transformation! You did such an excellent job. Looks beautiful.
ReplyDeleteYour a girl after my own heart!! Nothing better than transforming furniture :D Great blog by the way!
ReplyDeleteJust saw this on Donnas blog but had to come and look to see if you showed the how to of this pretty desk. Thanks so much it came out great.
ReplyDeleteSounds complicated but the end result is sooo worth it! It looks a lot more expensive straight out of a high-end brand's catalog. :)
ReplyDeleteWow - your desk turned out really good!
ReplyDeleteUn. Be. Lievable!!!!!! I can't count the nights that I have trolled the blogs looking for just this finish. You are awesome and should be so proud of your work.
ReplyDeleteWe are about to redo a bath. I like the function and form of my cherry vanity and matching cabinets but wanted THIS "mirrored' finish. It won't happen for a while but your fab project is bookmarked. thank you!
Lynn
I've been looking for a technique to use on a piece. Thanks to you, I think I've found it. Added good news is that I have all the needed items except one! I hope mine turns out as nicely as yours.
ReplyDeleteWonderfully done! I may do my huge, old steel desk with this technique! Kudos!
ReplyDeleteWow, that is an amazing finish! Well worth all the steps. I would have never know it would shine up like that with the sandpaper. Amazing!
ReplyDeleteThanks so much for stopping by :)
This is amazing. I never would have thought to use automotive products. This looks gorgeous! Thanks for the tut!
ReplyDeleteI have a table that is very much like that...I have been trying to figure out what to do with it...thanks for for expanding the possiblities in my mind...Looks great
ReplyDeleteWow! Fantastic finish! Thanks for the tutorial.
ReplyDeleteThanks for the tutorial. Beautiful table, well done and very innovative.
ReplyDeleteMoni
WOW! That is just absolutely gorgeous. Love all the techniques you use to achieve this amazing transformation.
ReplyDeleteHolly
504 Main
That look AMAZING!!!
ReplyDeleteCheri
I am doing this to my nightstands! I love this!
ReplyDeleteLooks fabulous! Love it! Great tutorial!
ReplyDeleteThanks for sharing!
Cheers!
Tina
Beautiful finish! Great tutorial and tips on your technique! I love it!
ReplyDeleteRoeshel
Looks great! Where did you see this done before? Time consuming, but the end result was worth it!
ReplyDeleteDropping by from How To's Day. Hope you'll come see DD2's picture wall we did for her.
Allison
Atticmag
WOW - thanks for sharing!
ReplyDeleteBeautiful! I have to try this--just love it--so unique! Stop by and link it up to my Wednesday party--my readers will go crazy for this desk!
ReplyDeleteHave a great week-
Mary
I saw this on homepodge and just wanted to say that you did an amazing job. You have certainly inspired me! Thank you for posting this!
ReplyDeleteTina
love love love!!! trying to get up the guts to do a mirrored table of my own .
ReplyDeleteLove it! Such a great tut.
ReplyDeleteThis is seriously beautiful! How did you figure this out? I can't wait to try it for my nightstand. Thank you!
ReplyDeleteI love this! I was thinking about doing something very similar to this! Thanks for the great tutorial!
ReplyDeleteAmazing, fabulous and spectacular! I will have to give it a try thanks so much for the tutorial. How did you come up with this idea? Really clever.
ReplyDeleteLove this Sarah! I've featured it on Craft Gossip so my readers can come and see! :) You can see the post here
ReplyDeletehttp://homeandgarden.craftgossip.com/mirrored-desk/
Thanks for inspiration!
If you would like a "featured by" button, you can grab one here!
http://homeandgarden.craftgossip.com/grab-a-craft-gossip-button/
AMAZING!!! :-)
ReplyDeleteI linked your tutorial on my blog:
ReplyDeletehttp://fortheloveofacottage.blogspot.com/
The writing desk is lovely. I love the look of mirrored furniture, however I do not love the price tag. Your tutorial is very well done and one that I will be putting to use soon!!
I have been eyeing and obsessing over the Harlow collection at Pier 1 for a long time now but could never bring myself to pay retail. I love love love this desk! Thank you for the tutorial. Im definitely linking this.
ReplyDelete